Make a Flake
by Desi Gonzalez
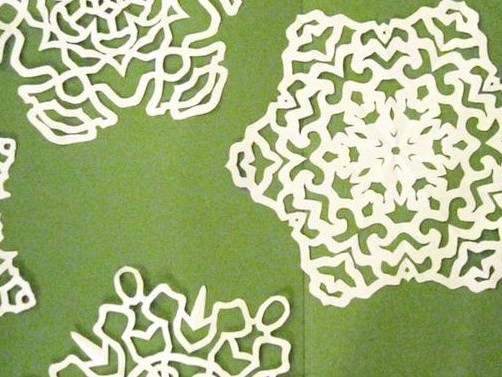
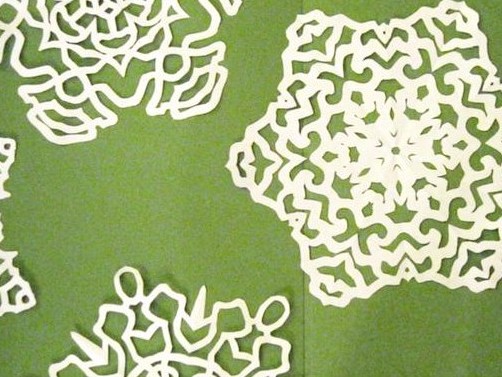
I spend a startling amount of time during the winter months making these lacy snowflakes. Here’s the secret, though: they’re just regular old paper flakes like the kind you made back in elementary school.
First I’m going to show you how to make snowflakes, and then I’ll share some tips for making them all nice and lacy like mine. You can trick your friends into thinking that you’re super fancy and decorate your windows at the same time.
You’ll need:
- Paper. I usually use computer paper; any thicker, and it’s too cumbersome to cut through. I’ve used sheet music before, and that’s pretty pretty.
- Grown-up scissors.
- Optional, but recommended: a bottle of wine, some Friday Night Lights on Netflix, and friends you’ve corralled into making flakes with you.
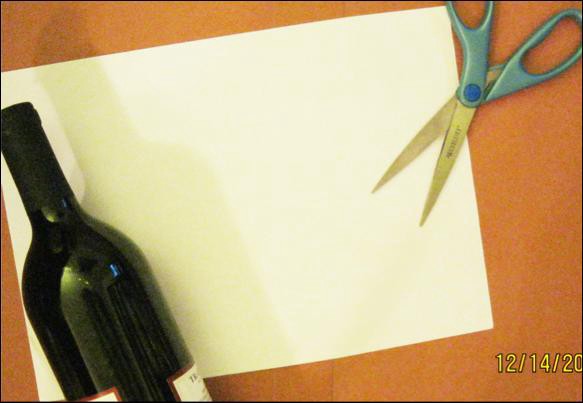
STEP ONE: Make a square.
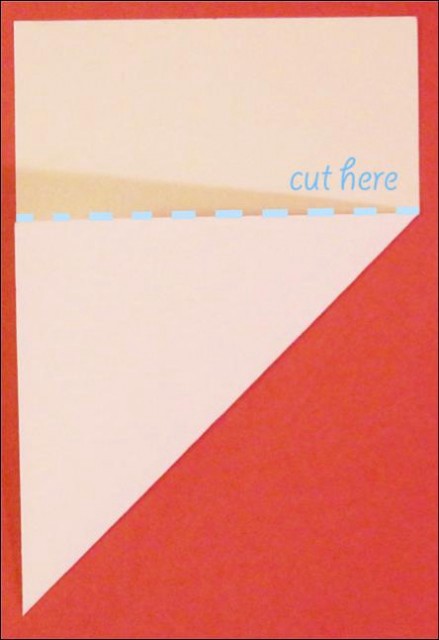
STEP TWO: Folding, or, the agony and the ecstasy.
Confession: I’m pretty militant about my snowflakes, and boy do I get mad when people make their flakes four- or eight-pointed. Didn’t we learn in the first grade that snowflakes are actually a lot of teensy weensy six-pointed ice crystals?? You owe it to Science, friends, to make your snowflake structurally accurate.
This makes folding the most crucial and yet most agonizing part of snowflaking. Since we need to have six radially symmetrical points, we have to fold our paper into twelfths. (Also, I love the word “twelfths.” So many consonants! Like rhythm. Or angst.)
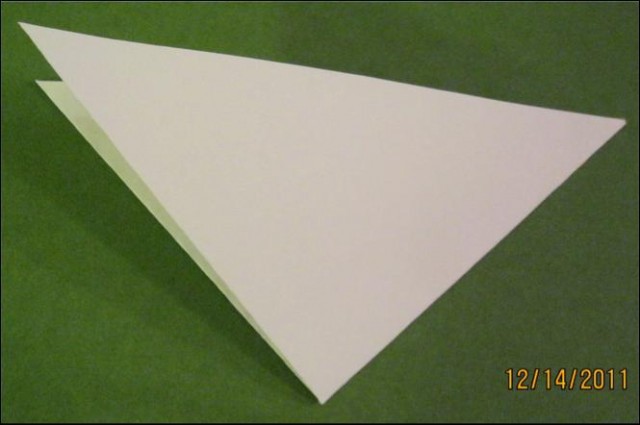
Fold your triangle (that square we had that was folded in half) in half again by bringing the two smaller angles together.
Next we’re going to use a bit of guess-and-check to fold each of the new triangles into thirds. So I sort of imagine cutting the 90° angle into thirds.
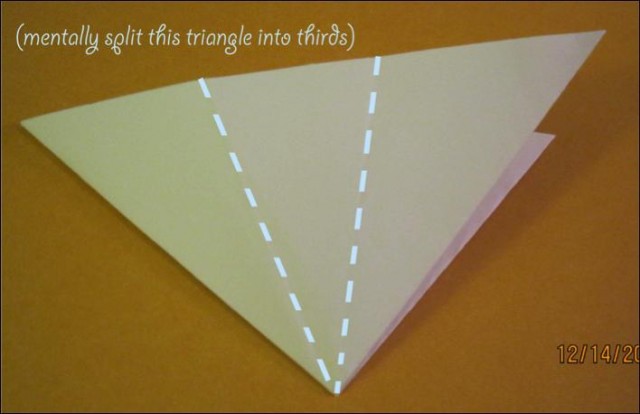
See the image above? I fold first along the leftmost line (without creating a super defined crease, so then I can adjust it later if I totally botched my folding-into-thirds). Here’s a hint: that big flap you just folded over from the right side? (See purple-pinkish photo below.) The middle of that piece should line up with the other side of the flake. (Refer to image below if that sentence made no sense.) Then fold the flap back over to get the last third. If the thirds are uneven, adjust the angles accordingly so that the sides line up.
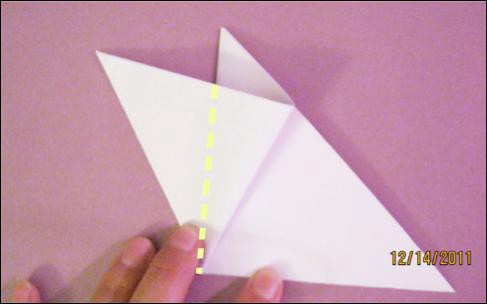
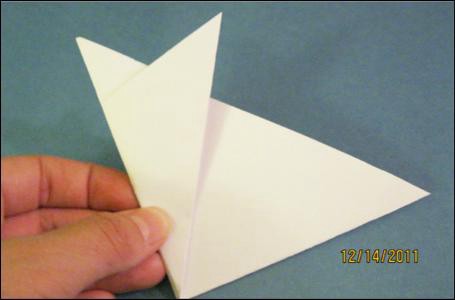
When you’re folding these flaps, fold them accordion-style (so from above it looks like a Z, not folded into each other like a…confused spiral? hanger? wrap dress?).
Flip over to the other side and repeat. It’s a lot easier now, because you follow the folds from the other side.
You’re almost done with this step! Now we just cut off the New Doodad. It’s the excess paper on the top that we need to take off in order to make our square a dodecagon (for my non-geometry-nerd friends, a twelve-sided shape).
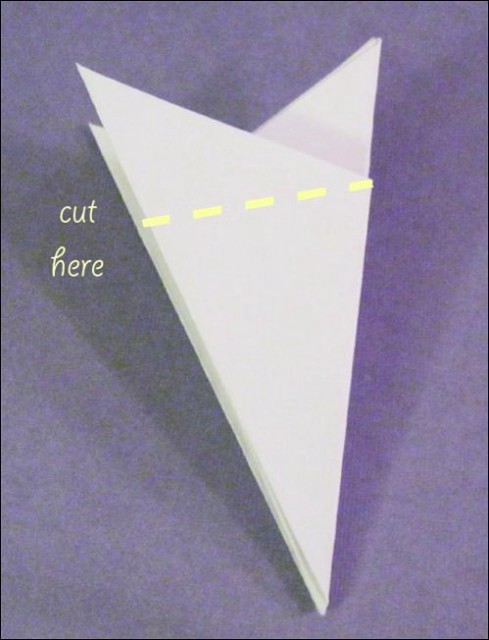
STEP THREE: Make that flake.
You’re ready to cut to your heart’s content! Since this is where you’re supposed to cut loose (get it? scissor humor) and let your imagination run wild, there aren’t really instructions at this point. BUT, I do have some general guidelines to make a lovely flake.
DO…
Remember that the top, short side is the outside of your flake. I like to make one end taller and the other shorter, with crazy fun dips and curves in between, to give my flake a distinctive outline.
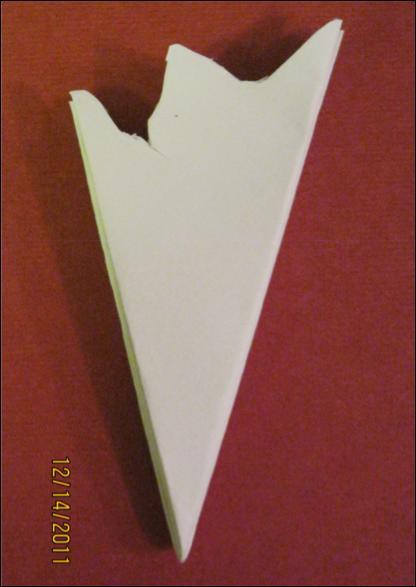
And DO… Cut from all sides of the flake!
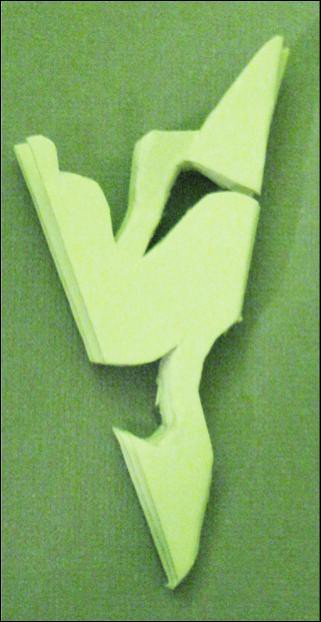
DON’T…
Cut all the way from one side to the other. This might seem obvious, but I’ve seen plenty of new flakers unwittingly make a sudden, careless snip leads them tragically to the other side of the flake, leaving them only with a gaping hole in the middle.
But DO…
Cut a little bit from the bottom point if it strikes your fancy! I like to cut a tiny bit from the bottom, sometimes a sliver along the side, or sometimes straight across, to spice up the center of my flake.
So how DO you make them all lacy like that, Des?
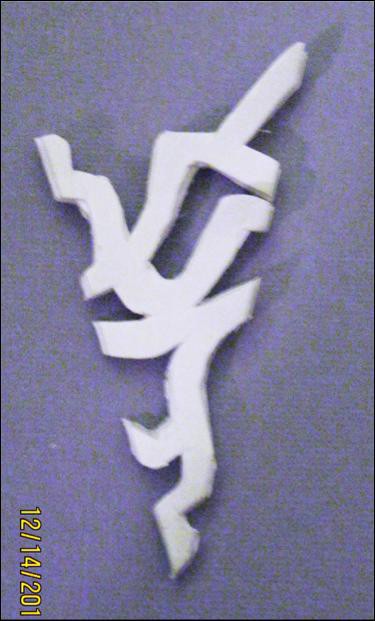
Here’s my secret: don’t just think about the shapes that you’re cutting out; think about the shape of the paper that’s left over. If I cut a shape on one side, I like to cut out a shape from the opposite side that is parallel to it, so that my snowflake looks like it’s made out of intersecting lines.
And the best part…the big reveal!
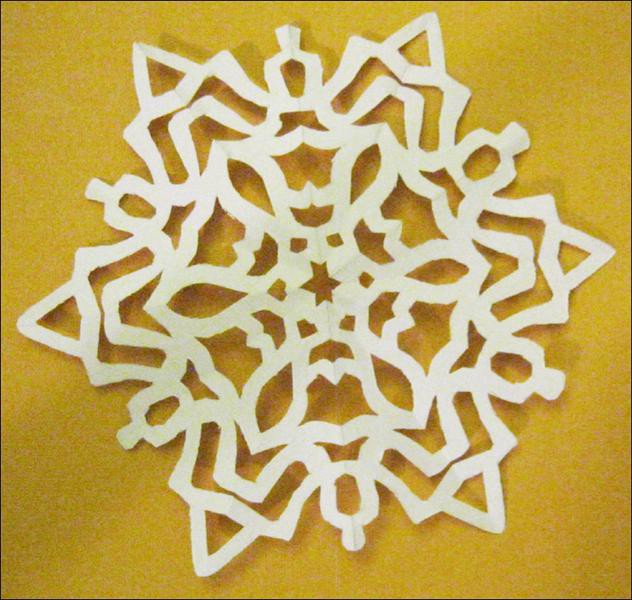
POST SCRIPT: Uses for flakes.
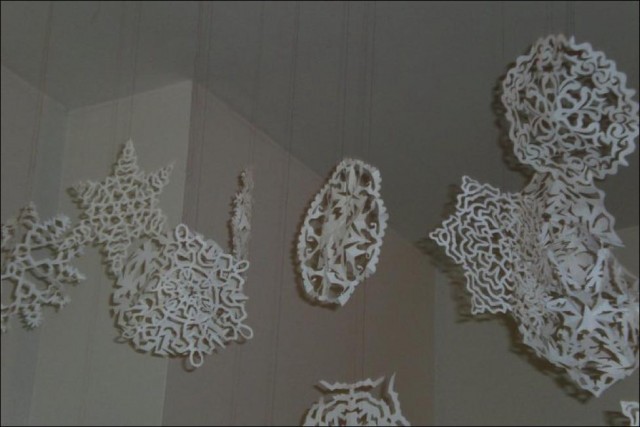
Hang them from your ceiling.
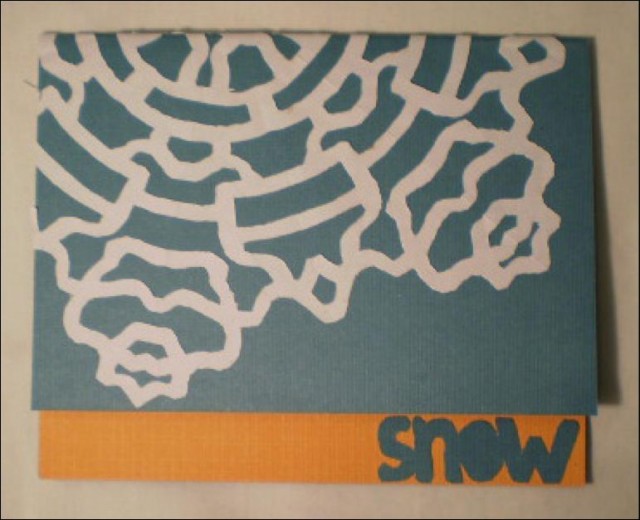
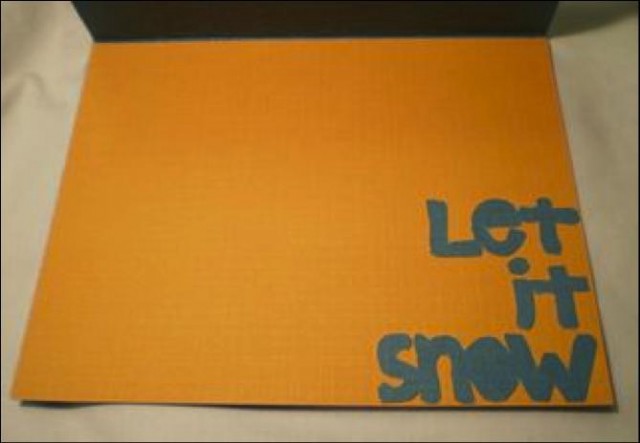
Make cards.
My favorite: use it as a cake stencil, sprinkling cinnamon or powdered sugar over it and carefully peeling back the paper. Like on this Valentine’s Day cake.
Desi Gonzalez looks at pictures during the day and thinks about words at night.