Holidaycoupage Postcards
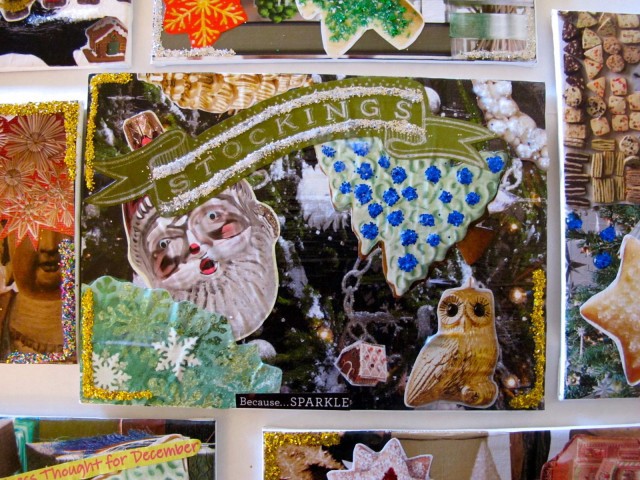
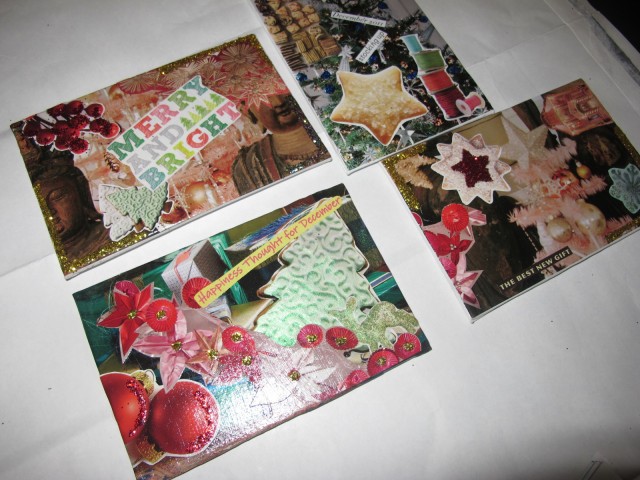
This year I decided to make holiday cards, rather than not even buy any or buy some and forget to mail them in time like I usually do. For this decoupaged postcard project you’ll need:
- Holiday magazines and catalogs
- Mod Podge
- Crappy plastic brushes
- Elmer’s glue
- Scissors
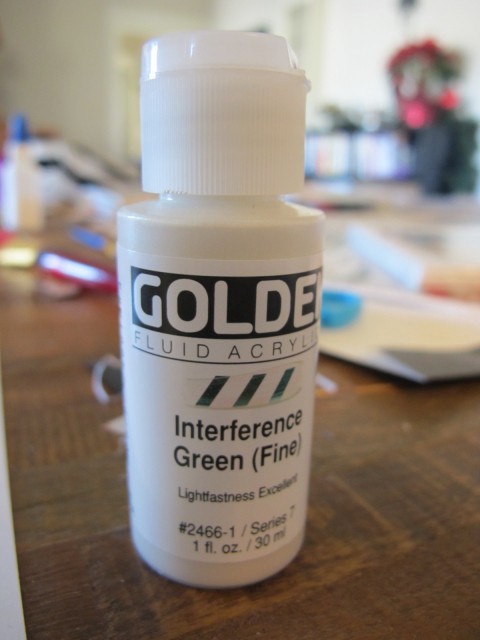
- Iridescent paint (optional, found at most art stores)
- Glitter
- 4×6 canvas panels
- 3×5 cards
- Patience and dedication
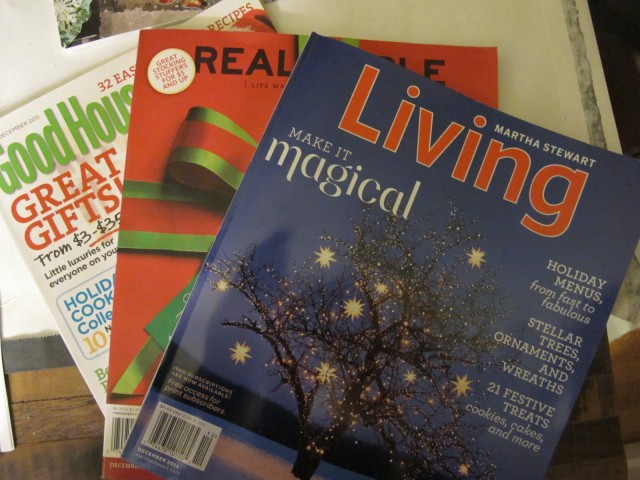
Here are the magazines I used. I also completely destroyed a West Elm catalog, which was perfect for this project. Lots of words and phrases to cut out of there.
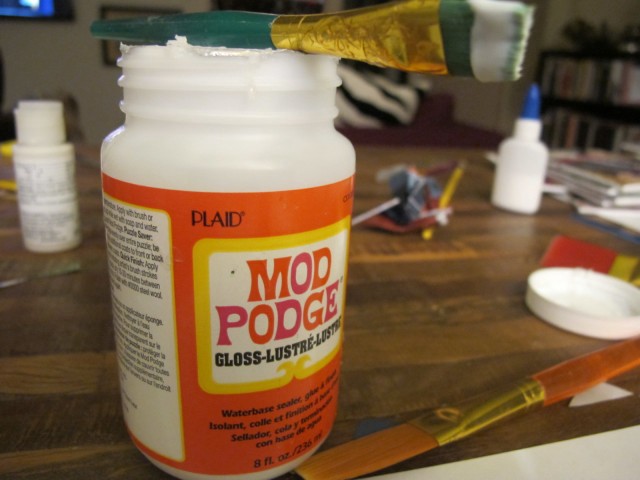
This is the glue AND the sealant for your project.
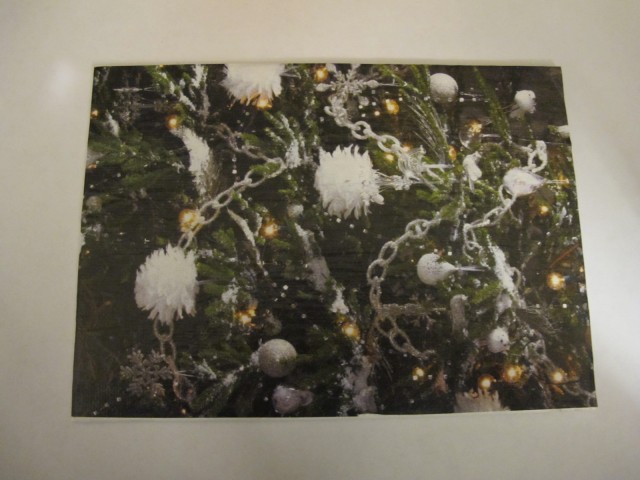
I like to start with an all over pattern. Just glue it to the front of your canvas. Little bubbles will form under it for sure but you can smash them out with your thumb OR don’t worry about it because the more texture these have, the better.
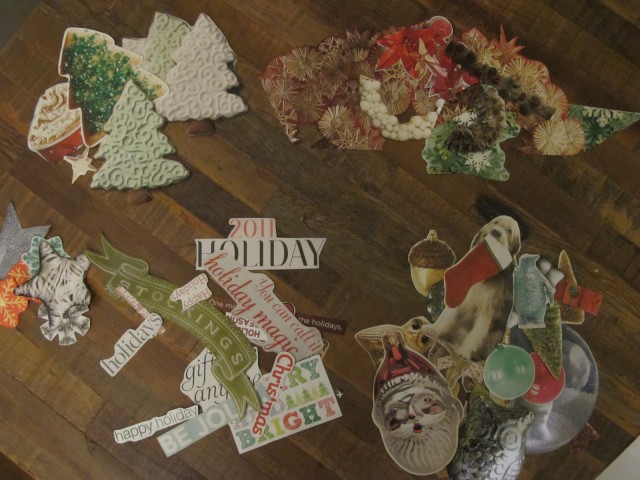
Now cut out a bunch of fun things to glue on top. I keep mine in organized piles like “stars” and “words” and “cookies” but you don’t have to. It’s prettier to leave a little border of white around them rather than cutting super close around the edge:
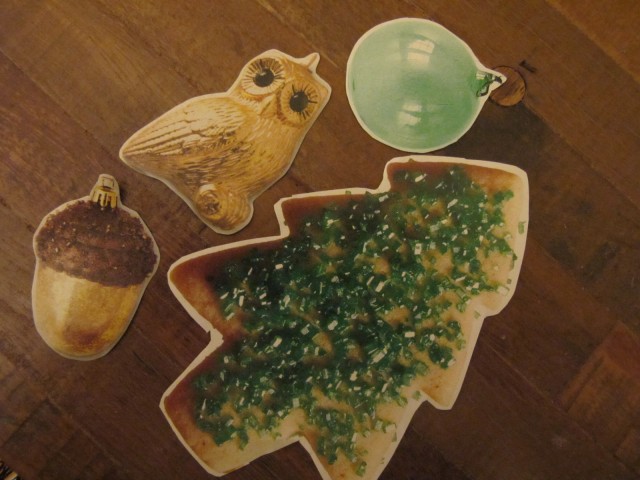
Start decoupaging! It’s too messy to put the glue on backs of the cutouts themselves. Instead, just paint the Mod Podge on the canvas. I even use the wet brush to smoosh the piece into place rather than get my fingers gluey. You’re gonna go over the whole thing at the end with Mod Podge so it doesn’t matter if you get it all over the canvas.
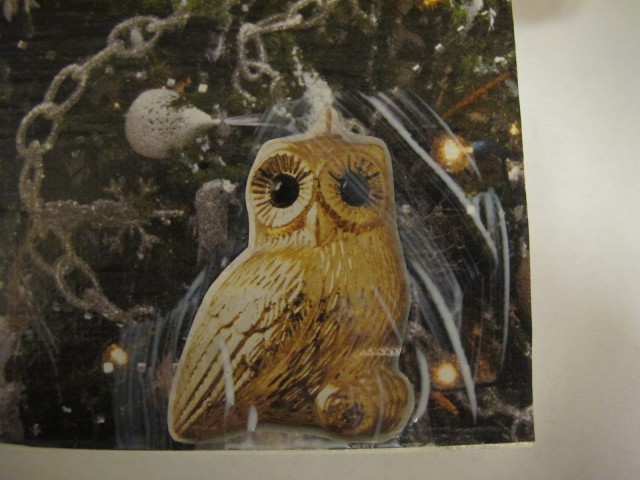
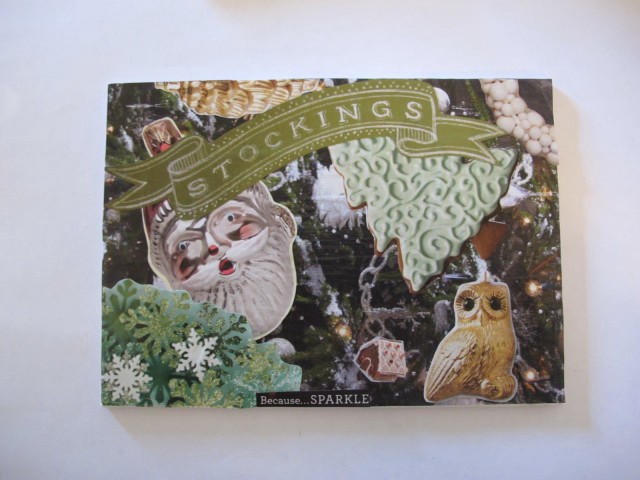
Once you have all your pieces in place and you’ve chosen some words — nonsense ones like “Because… SPARKLE” are the best — wait for it to dry. Then add some transparent iridescent paint on top of a few of the objects. It’s subtle but adds dimension.
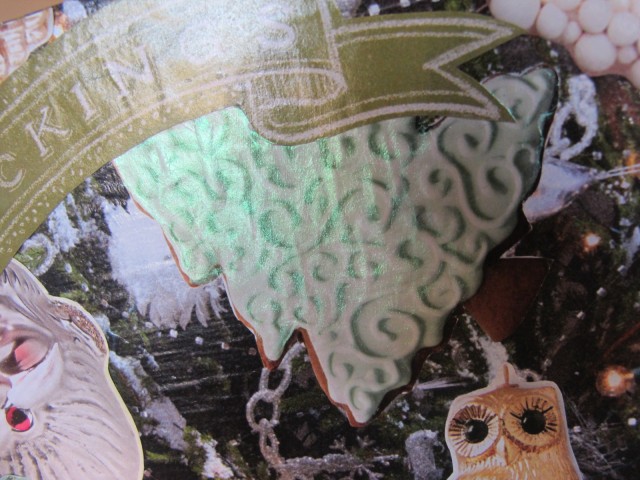
Now, using either the mod podge or glue, add some glitter. I do this in stages by color because when you tap the excess off it kind of gets everywhere and you don’t want your gold glitter part getting blue glitter in it when you shake the blue off, you know? So do one color, wait for it to dry, then do the next. Once all the glitter dries, I take a small brush and wipe away any stray glitter on the canvas. Then paint a thick coat of Mod Podge over the whole thing with a large brush. Don’t smooth it out too much, the brush strokes look cool when it’s dry.
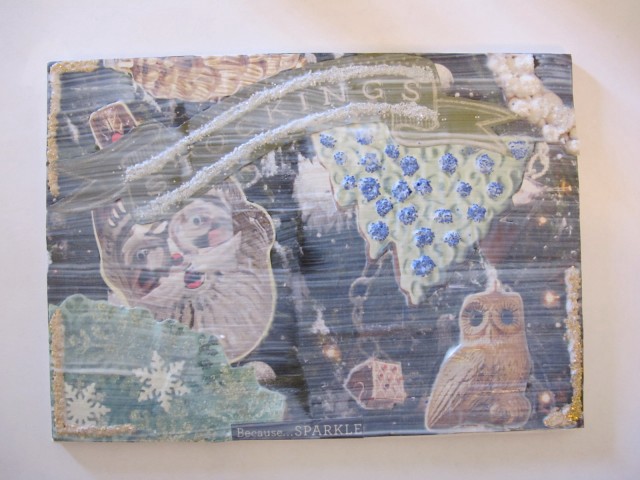
While that dries, make your address label for the back. Mod Podge or glue it in place when the postcard is dry.
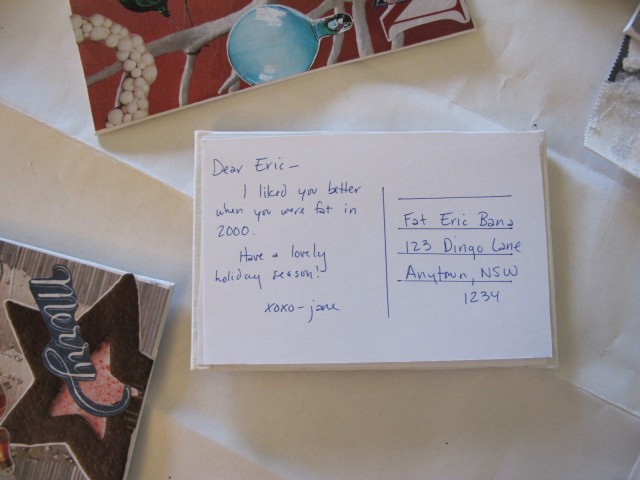
Admire your work and then go to the post office. Yes, these will probably get a little messed up in the mail, but that will just add to the handmade-and-actually-mailed charm.
Have a crafty weekend!