DIY: Fire Flowers
by Katy Kelleher

As I’ve said before, homemade gifts sometimes kind of suck. But this year I’m going to be giving all the ladies in my life these pretty flower barrettes, because not only are they easy to make, they’re cheap and provide the perfect excuse for you to play with fire.
But a word about that: be careful, okay, guys? I burnt my fingers more than once trying to make these flowers after burning through a couple margaritas. But when I tried to do it sober, there were no issues (shocker, that statement). This really is a safe craft, just make sure you have a glass of water nearby in case you accidentally set your polyblend ablaze. And that will happen at some point. Just stay calm and shake it wildly in the air until you have a smoking piece of smelly, charred fabric.
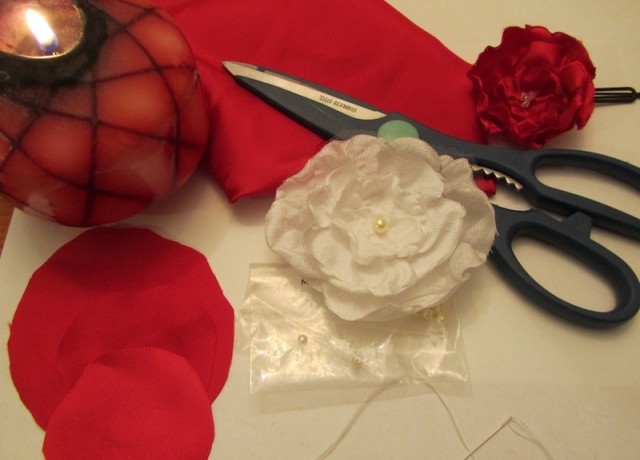
Now that we’ve gotten that disclaimer out of the way, let’s talk materials. To make these flowers, you need:
– Cloth. There are plenty of different cloths that work for this, but you want something with plastic in it. Gauzy fabrics are pretty, but burn more easily. I say start with a nice, synthetic, silky fabric with a bit of sheen.
— Scissors.
— Needle and thread (try to get a color that matches your fabric).
— Small beads that will look pretty in the center.
— A candle.
— Hairpins!
A single yard of fabric can yield bunches of these flowers. Since hairclips are inexpensive and you probably already have the needle and thread and some beads lying around your apartment, this might just be the cheapest way to impress all your less-crafty friends. And in case you couldn’t tell already, these are really very pretty.
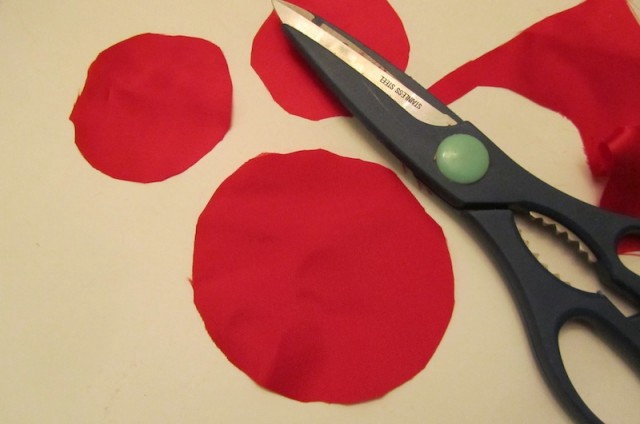
Since I’ve already sold you on this craft, here’s what you need to do. First, cut some circles out of your fabric. Make sure you have multiple sizes, for the different layers of the flower. They by no means need to be perfect, since you’re going to burn the bejesus out of them, so don’t worry if you tend to be a bit liberal with your scissors.
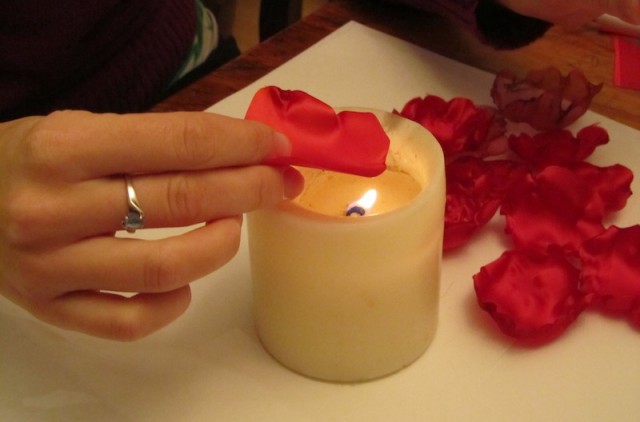
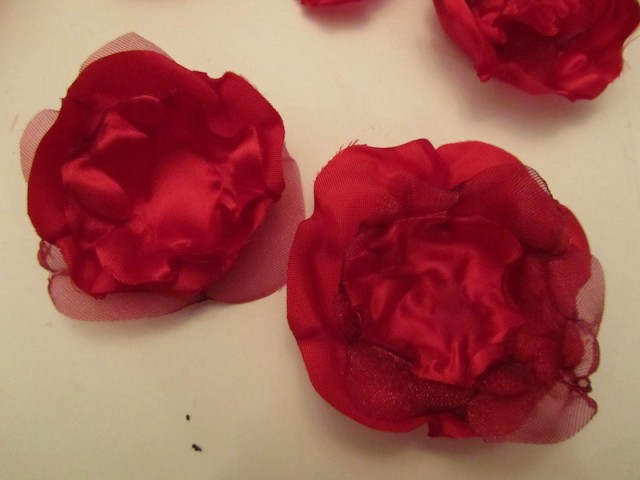
Now, fire up your lighter and get the candle ready. Curling the cloth, without burning it, is by far the most difficult part of the project. But with a little practice, even the most craft-challenged Hairpinner can handle it, I promise. Hold the circle a few inches above the flame, and gently lower it closer. Take it slow, because at some point, it will get hot enough that the fabric will begin to warp and curl — and that’s exactly where you want to be! Find this magic distance (for me, it’s usually an inch and a half away from the top of the flame) and turn the circle slowly so that the edges get all crinkly while the middle remains mostly untouched. It can take a little while to get into the groove of things, so don’t be dismayed if your first few flowers are more apocalyptic-chic than elegant forest nymph. Unless you want to look like a slightly fancier version of Mila Kunis in the horrible-awesome Book of Eli, in which case, carry on.
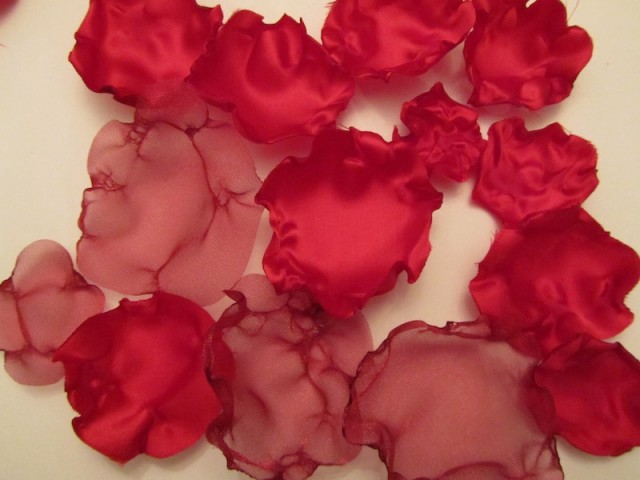
While you have your candle lit, make as many of these petals as you have the patience for. You can use different types of fabrics for texture, and make sure you use different size circles. When you’re done, you should have a bunch of perfectly imperfect layers.
Take three of the pieces and layer them, with the largest circle on the outside and increasingly smaller petals within. It’s okay if it looks a little irregular, you won’t really notice once you’ve put it together and added the beads. Play around with this a bit — sometimes the flowers you planned out aren’t the ones that end up working. And that’s okay.
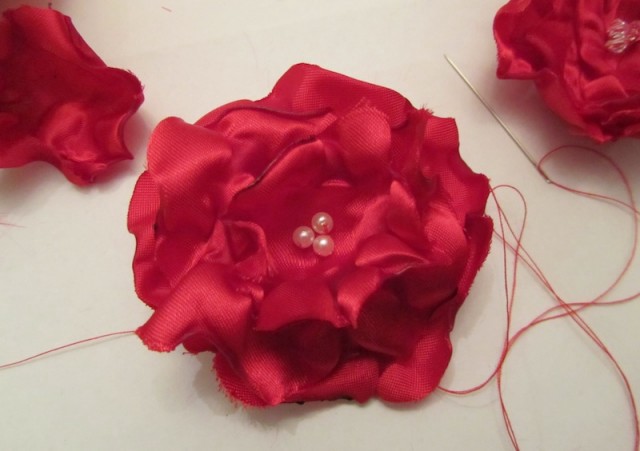
Finally, you’re ready to add the centerpiece. Take a needle threaded with a similar color thread and begin sewing from the backside of the flower. Try to keep it as centered as possible. For these flowers, I used little pearl beads, either in a cluster of three, or for smaller flowers, I just used one right in the center. You can use whatever type of bead you want here, or even buttons, if you’re feeling whimsical.
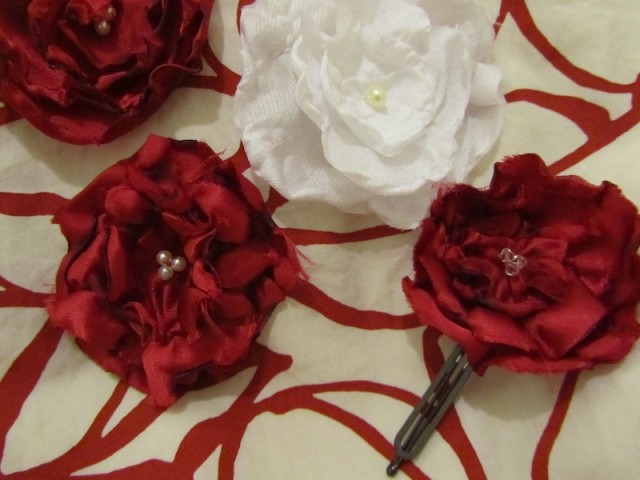
Congratulations! You have made a fabric flower. At this point, I used my hot glue gun to attach it to a large bobby pin, but there are so many uses for these flowers. You could glue it to a headband, sew it on to a sweater, or even use it to decorate a belt. If you made white ones, they would make a really lovely headpiece for a wedding. Or you could make yourself a bright blue flower and pretend you’re Ariel. Just try not to burn the house down while you’re crafting. Other than that, you’re good to go.
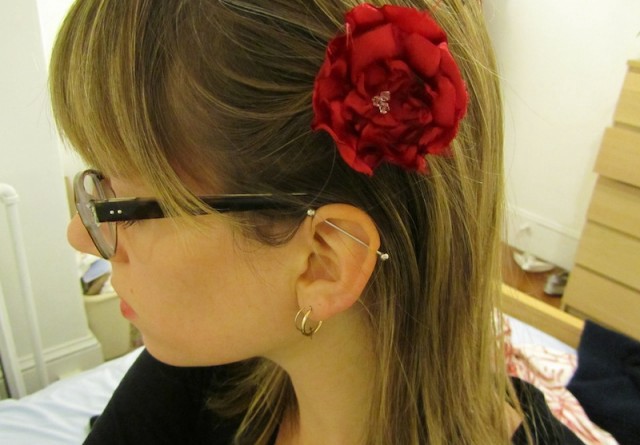
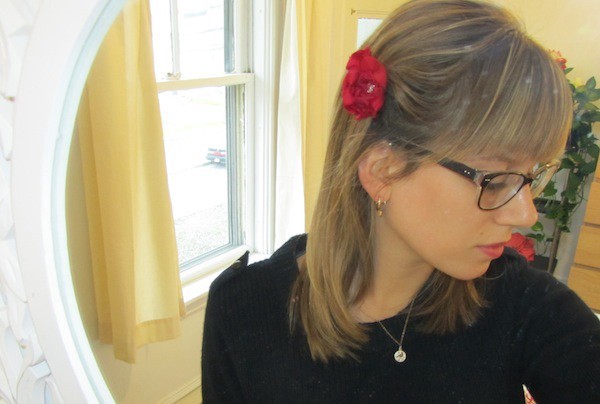
Oh, and here’s what they look like on a human head:
Happy Holidays & merry crafting.
Katy Kelleher lives in Somerville, Massachusetts, and writes about almost everything. She spends her days editing a website and her nights playing with paper.