DIY: Transform a Boring Lampshade Into a Lampshade of Wonder
by Katy Kelleher
Due to unforeseen circumstances, I’ve been forced to move three times in the past two months. As anyone who has lived though an extended period of post-breakup couch-surfing knows all too well, this really sucks. But now that the dust has finally settled and I’ve landed safely in a brand new apartment in a brand new neighborhood, I find myself wanting to do just one thing: nest.
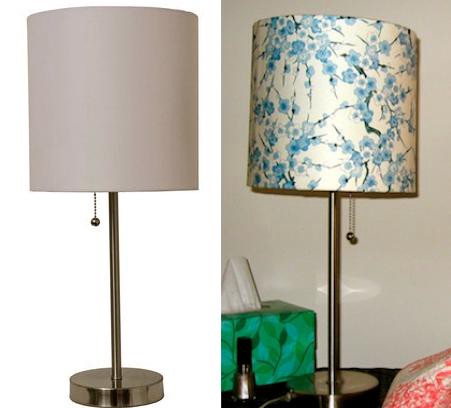
Unfortunately, funds are limited, which means I’ve been spending a lot of time at the good old Tar-jay. One of my most recent purchases was this boring stick lamp. It was on sale when I bought it, so for $14 I got a minimalist silver lamp with a white “drum shade.” Fittingly, you can find this item in their “dorm room essentials” section, which is a decent place to find apartment basics — though I do kind of chafe at the idea of shopping there now that I’m supposed to be a real, post-grad, millennial adult. I not-so-secretly want my apartment to look like Pottery Barn and Dwell Studio got wine-drunk one night and had a perky little bohemian baby. Since Target just isn’t doing that for me, I decided to get crafty. And now, thanks to the magic of paper (there are few things I love more than pretty, pretty paper), the “essentials” piece has been transformed into a nice floral fixture that goes really well with my other recent thrift store acquisitions.
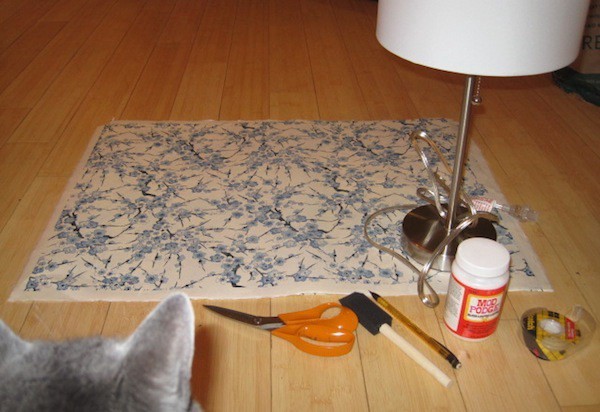
What to make one of your own? The good news is: this project is very easy. It takes a bit of patience, but the results are actually kind of impressive. To convert your crappy lamp into something a little less cinderblock-chic, you will need eight things (the cat is optional):
1. A plain lampshade and lamp.
2. A sheet (or two, depending on the size of your shade) of quality paper.
3. Mod Podge glue, or another kind of liquid glue that has some holding power. I imagine superglue would work, though you would just have to use a tiny dab here and there.
4. Something to apply the glue with (can be a sponge brush, like I used, or a crappy paint brush or even a makeup brush that you’re willing to wreck for the sake of your apartment).
5. Scissors.
6. A ruler.
7. Double-stick tape.
8. Small binder clips.
Finally, a word on choosing paper: if you need some help locating a pretty printed piece of paper, here are a few online shops I’ve become addicted to: Paper Source, Hollanders, and The Paper Studio. For this project, I used a cherry blossom print in blue and white, but I think a light pink or red sheet would look amazing. I would also stay away from dark blue or black, since it will make your lampshade too dark and thus defeat the purpose of having a lamp. Natural fibers are really nice, and heavy metallics can block out the light (these lace papers are very nice, though you would have to be extremely careful with your glue brush).
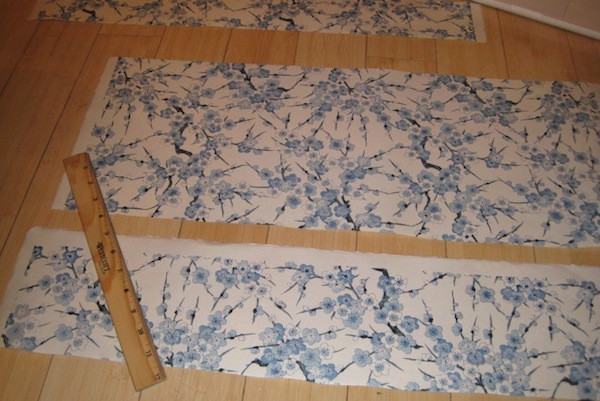
Now that you have all your supplies together, the first thing you need to do is lay your lampshade on the paper and start measuring. If your shade has a bit of a flare at the bottom, this project just got a bit harder. But not that hard! Roll your lampshade along the paper, marking lightly with your pencil on the underside of the paper. After you have a basic outline of your paper-wrap, use a ruler to draw another line one half inch from the top and another one half inch from the bottom of the shade. Since my lampshade is straight up-and-down, all I had to do was measure the correct distance, and cut my paper into three straight sections. If yours is unevenly shaped, just cut the paper slightly larger along the lines, and trim to fit after you have stuck it on.
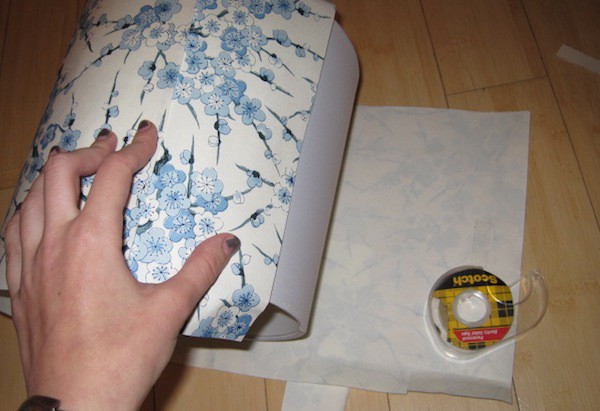
The middle strip of paper is going to cover the lamp, but since my lamp is just a bit too big for one sheet, I needed to pull a bit from one of the smaller strips to fill in the gap. I found a piece that roughly lined up with the pattern, trimmed it, and stuck it to the lamp with double-stick tape. Use the double-stick tape to loosely apply the paper to the shade, to get an idea of what will go where before you start gluing.
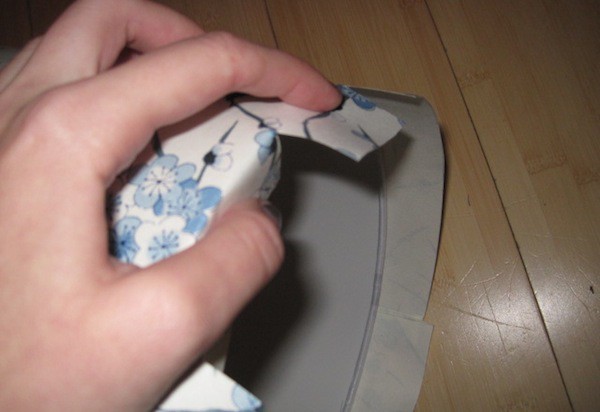
Now that you have it wrapped, there should be a half inch or so of paper hanging over each edge. Take your scissors and cut slits in the paper at two-inch intervals (more or less. I didn’t measure this part, to be honest).
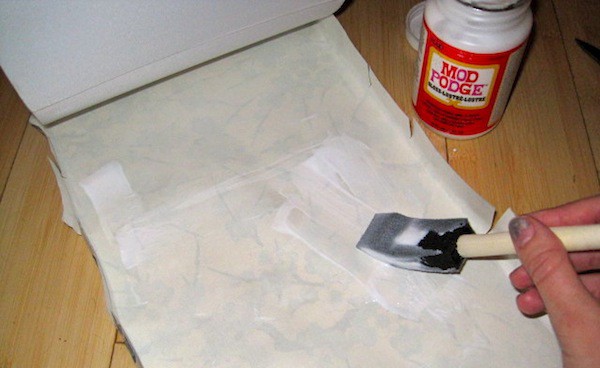
Once everything is cut and measured, you’re ready to glue. Remove the paper — and be sure to take off all the double-stick tape — and use your sponge brush to apply a thin layer of Mod Podge. Roll the lamp along the paper, smoothing as you go so there are no weird pockets of air. It looks really messy in my picture, so don’t be that messy. Try to avoid clumps and maybe be a little less drunk when you make it, mmmkay?
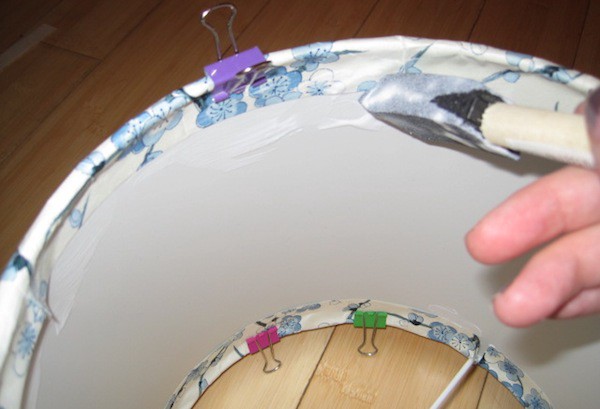
After you’ve applied the paper to the outside of the lamp, take the little hangy-overy edges and fold them down into the inside of the shade. I used extra glue here, because no one is going to be checking out the inside of my lampshade and I really wanted it to stick. As I finished glueing, I placed binder clips around the outside of the shade to keep the paper from sliding.
I let it dry like this overnight, though that might have been overkill. I also rotated the binder clips (moving each one an inch to the left) after about an hour, so there was no crimping or crinkling.
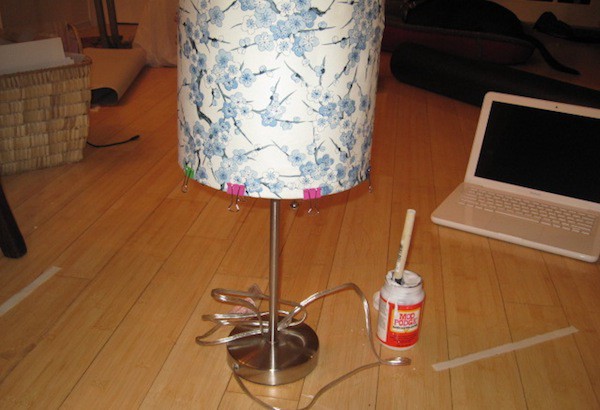
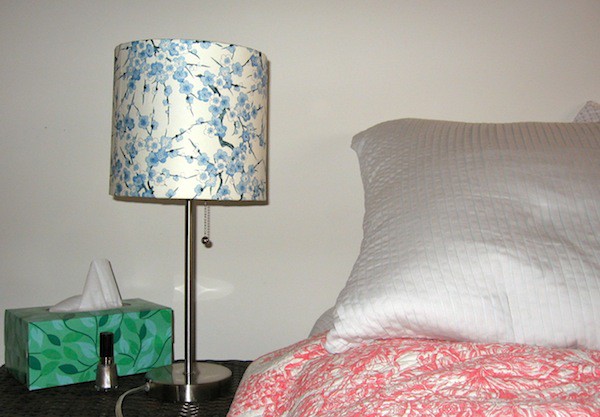
The next day, I screwed in one of those energy-saving bulbs and turned it on. It’s been a few weeks now — which is the normal amount of time I have to keep a decorative item out before determining it was a bad idea — and I can definitively say I love my lamp. Since you’re probably less wishy-washy than me, I bet you’ll love yours right away. And finally, because I feel like I’m contractually obligated to add this, wouldn’t this make a lovely gift?
Katy Kelleher lives in Somerville, Massachusetts, and writes about almost everything. She spends her days editing a website and her nights playing with paper.