A Femme’s Guide to Improvement: Overhead Lights
by L M
Apartment improvement, wardrobe improvement, bike improvement: You name it, if there’s a tool or specialized trick involved, a dyke will want to do it, and has probably taught herself how. This homo has, at any rate, and I’m going to spread the DIY gospel, starting with light fixtures.
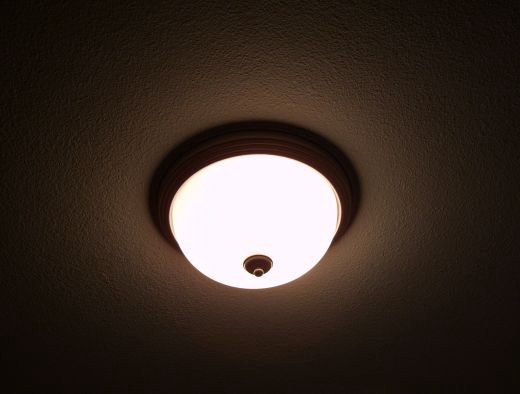
I’m betting that most of you ladies, being in your twenties and thirties, are apartment-based or, at the very least, renters. (If you’re younger than 35 and a homeowner, go away.) And if you’re at all human, the default overhead light fixtures that come with most rentals probably depress you. You know, like that photo right here?
“But how could I possibly change my light fixtures?! I’m a renter! That’s not allowed! Also I know nothing about wiring!”
No biggie, here’s what you’ll need:
– a hardware store
— a dollar
Go to the hardware store and get a socket outlet. These handy little things will screw in any socket and, as the name suggests, turn it into an outlet. Hell, go crazy: get one with double outlets!
You’ll probably need a ladder or a sturdy table to reach the ceiling, but that’s about it. Once you have it, the lighting world is your oyster. I had some extra Christmas lights lurking in boxes, so I went to the Swedish Death Star, Ikea, and got two bundles of dried curly willow, conveniently already painted white. (They were $6 a pop.)

If you want to do what I did, here’s how:
1. Tie the branches together at their bases with some strong wire or string: The best method for this is to wrap a few branches together, and then wrap those bundles together in turn — this will keep it from falling apart.
2. Next, use some strong wire — the kind for hanging pictures works well — and tie four longish pieces, evenly distributed, to the string or wire holding your bundle together.
3. Proceed to wrap the lights around your creation willy-nilly, tangling them as much as possible so they won’t be pulled down by gravity when you hang them. The only thing you need to remember here is to keep the plug at the base of your creation, rather than the tip. (This is a good life rule in general.)
4. Climb up on whatever sturdy thing you’ve decided will best help you reach the ceiling and, without plugging it in, attach your new chandelier to the ceiling using the metal brackets left in place from your old fixture. Once it’s in place, screw in your new outlet adapter, plug in your creation, and, crossing your fingers, flip the switch. (The switch which should have, prior to this point, been in the Off position.) You should now have vastly improved overhead lighting!
Bonus: when you move to a new apartment without overhead fixtures, you can turn your chandelier into a floor lamp by dumping it into a tall, sturdy vase, and rest smug in the knowledge that you can Improvise.
Lucia Martinez reads too many old poems and tries to be a lady.