DIY Flowers: Super Easy, Extra Pretty Paper Peonies
by Katy Kelleher
Everyone knows that if you want your house to appear clean, appealing, and generally worth visiting, you should always have some fresh flowers on display — they make everyone feel fancier and a little bit more loved. They’re a must-have at weddings, and a really-should-send for funerals. Back in the Victorian days, they could say everything from “I’m really sorry I never told you about my crazy wife in the attic” to “you’re not all that attractive, so it’s probably best we just stay friends rather than engage in a torrid affair.”
But since I’m also broke, sometimes I have to make due with what I’ve got. And what I’ve got a lot of (and I’m talking epic amounts) is paper. Hence: paper flowers. Want to learn how to make these pretty, immortal, and hard to mess up paper peonies? Well, I’ll show you.
First, you need to go out and buy yourself some tissue paper, preferably in multiple colors (three is more than enough). You’re also going to need wire (get florist wire here) and a pretty heavy-duty pair of scissors. That’s it. That’s all you need. Easier than our last craft, right?
OK, now take out your sheets of tissue paper and separate them, layering several colors on top of each other with the darkest sheets on the bottom and a bright color, like yellow or white — here I used red — on the top. You want to have approximately 6–8 pieces of paper for this to look good.
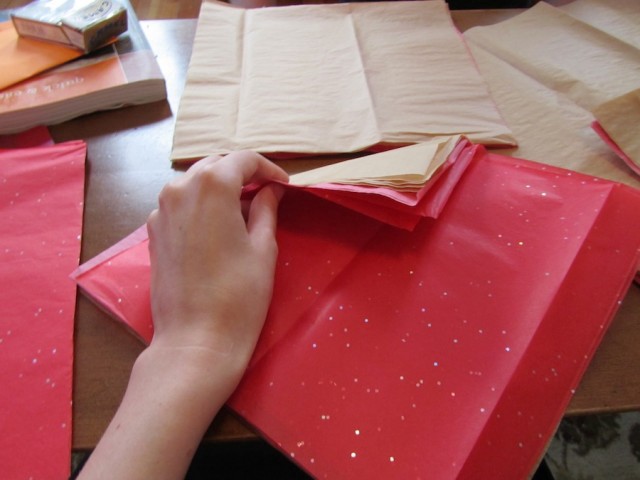
Cut the giant sheet into a more manageably sized rectangle. Six by nine inches is probably good, but to be honest, I never bother with a ruler when dealing with tissue paper. It’s so forgiving; you don’t have to worry about precision. Take the smaller end of the rectangle and begin folding the entire stack of tissue paper like an accordion with creases about one-half an inch apart. Fold until you get to the other end.
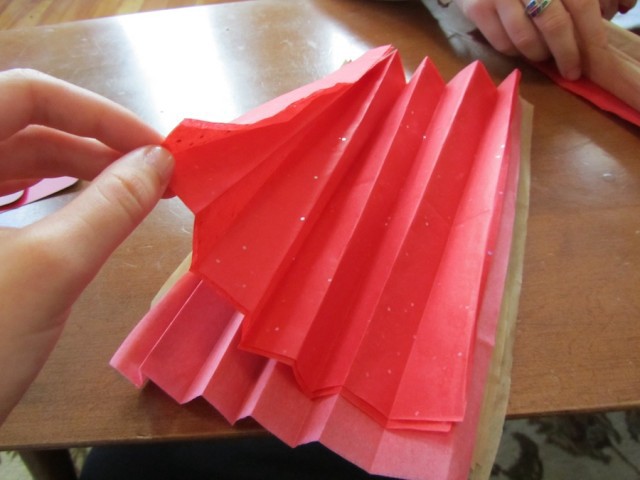
If you’re feeling lazy, skip ahead two paragraphs. If you want to make something a bit fancier, remove the lightest (or brightest) layers of paper from the accordion, keeping all creases in place. Fold it back up, and cut two inches off the end. Now that you have a little short piece, cut the ends of the strip so that they are rounded. This shape is going to be your petals, so if you want something a bit spikier, make it more triangular (if you want it to be a spider mum, make the end triangle as acute as possible).
Put the shorter piece back into the main pile. Be careful to line up your creases so that everything is back in place. Keep the shorter portion squarely in the middle, otherwise your flower will be lopsided.

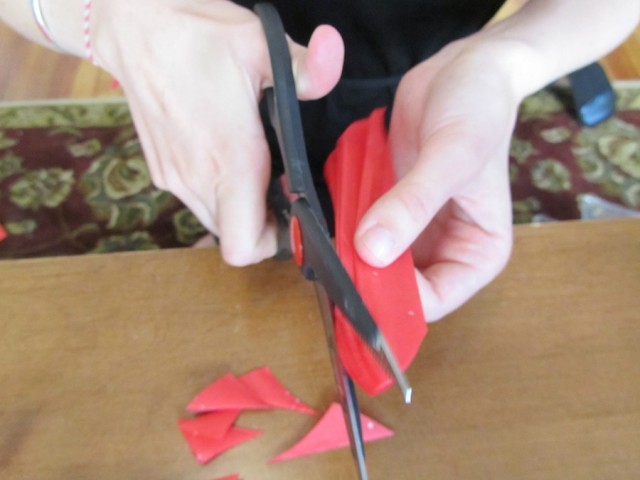
Fold the pile back up and cut the ends of the longer piece into petal-shapes. Since you’re cutting through so much paper, it really pays off to invest in some nice, sharp scissors. If you want more clearly defined petals, cut further down on the sides of the paper.
Now that you have your flower-stack all set, take out the wire and wrap it securely around the middle of the paper strip. Use wire cutters to clamp it in the middle, or just do what I do and bite it until it’s tight.
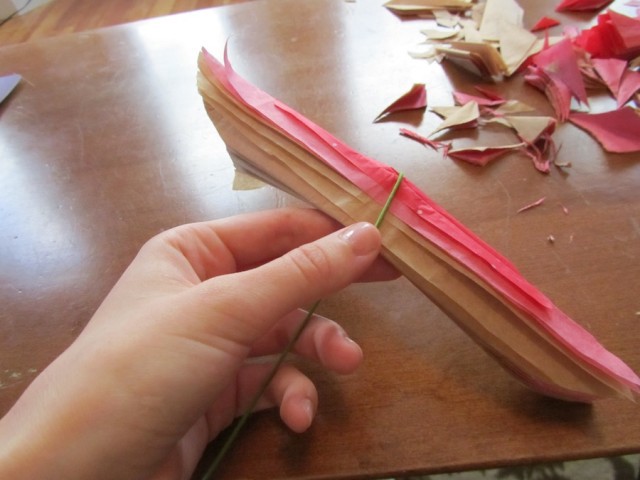
Undo the accordion. You should have two half-circle wings of folded paper. Start separating the layers. If you made several smaller layers, begin with these, pulling each petal up carefully until it stands perpendicular to the paper stack. Work your way around the flower, separating each layer one by one.
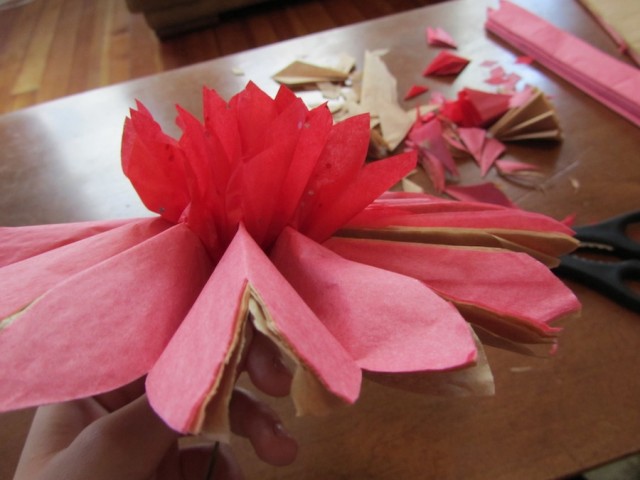
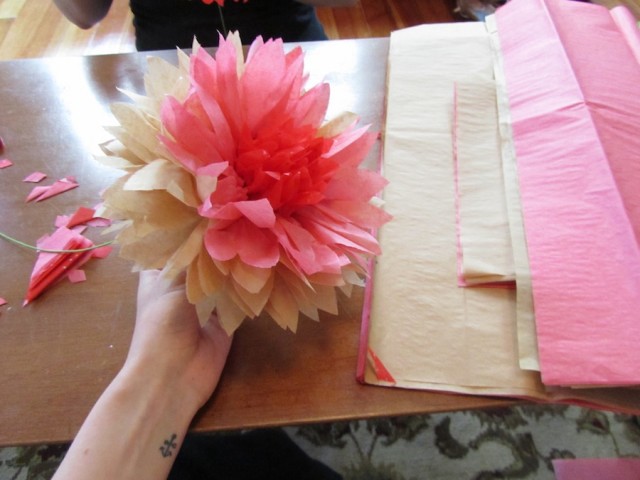
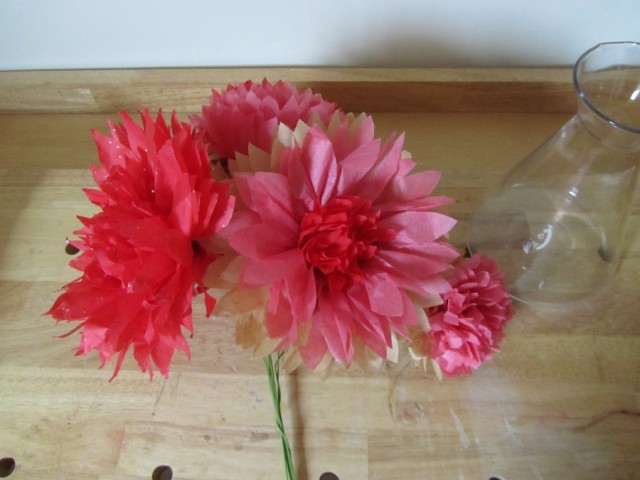
Here’s what it looks like halfway through. Sometimes I stop here, so I have a really lush middle surrounded by some clearly defined outer petals. Usually, I go on to separate all the layers until the whole thing is a nice big bursting pompom of color.
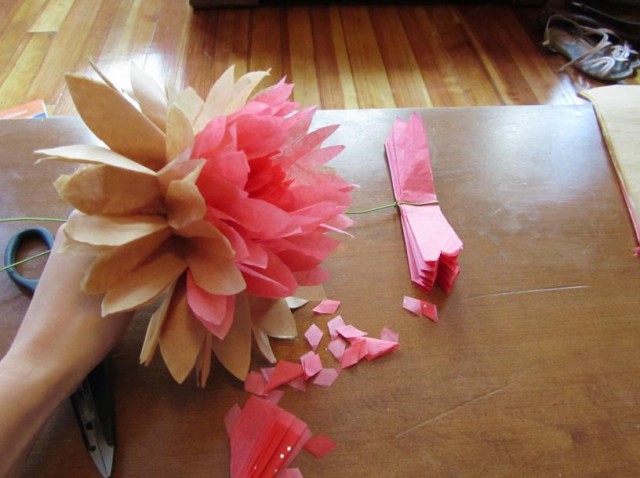
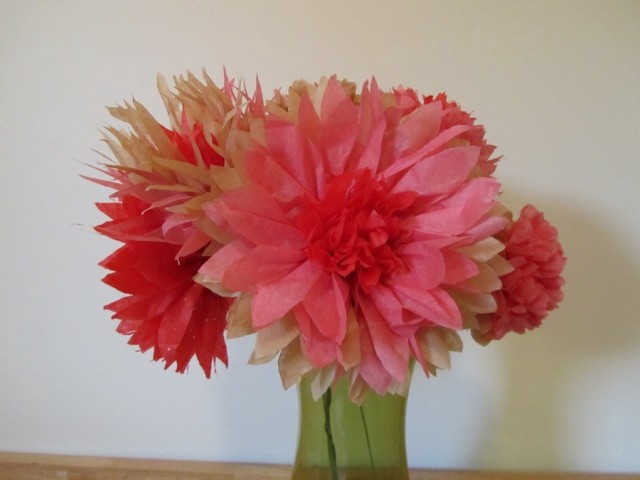
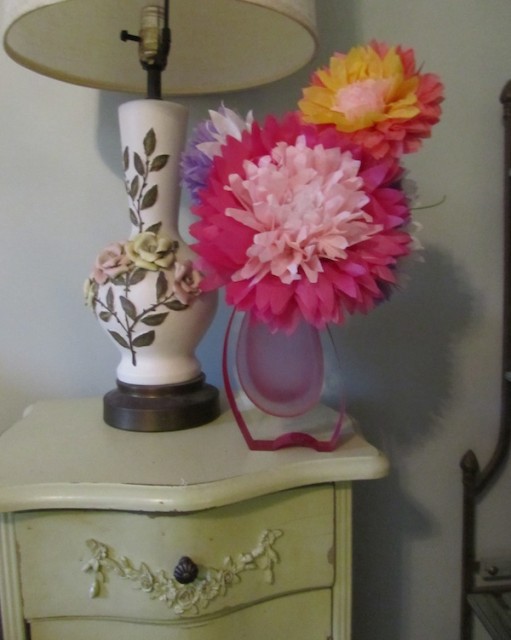
There you have it. A paper peony. If you want, you can cut leaves out from some green paper and tape them to the stem with flower tape (which you can find at most crafting stores). You can also make a bunch of different-sized paper flowers and create a bouquet. I recently gave a bunch to my roommate as a way of saying “sorry I never clean the toilet,” but they also make nice gifts for people with allergies. Throwing a garden party? Make a dozen little blossoms and strew them around the table — or twist the wires together and make a garland to hang over your porch. Once you have the basic materials, they’re cheaper than real flowers and last much longer.
Of course, having heaps of paper flowers piled around my house didn’t stop me from spending far too much money on Gerbera daisies last week at Whole Foods. So maybe we shouldn’t consider this a replacement for fresh flowers, but rather an addition to your gift-giving and DIY party-throwing arsenal. Now, go forth and brighten someone’s day.
Previously: Pop-Up Cards.
Katy Kelleher is a nightlife writer for NBC. She spends her free time playing with paper.